Now that the Thanksgiving Holidays are over, many of us turn our attention to Christmas decorating… Getting the tree up and trimmed…decorating the fireplace mantle…hanging wreaths and greenery on the front door. This year I am not forgetting the mailbox! Last year during many of my morning walks I noticed an emergence of beautifully decorated mailboxes in a certain area of my neighborhood. Colorful ribbons, natural foliage found in one’s yards, and other surprises such as ornaments, toys or fruit adorned many mailboxes. After doing a little sleuthing, I discovered the two neighbors responsible for the plethora of beautiful mailboxes. Carol Ann Atwood, a UF/IFAS Nassau Master Gardener and friend Sylvie Baxter have been conducting a Landscape Matters: Holiday Mailbox Decorating class for several years. They learned their art from Jane Krebs.
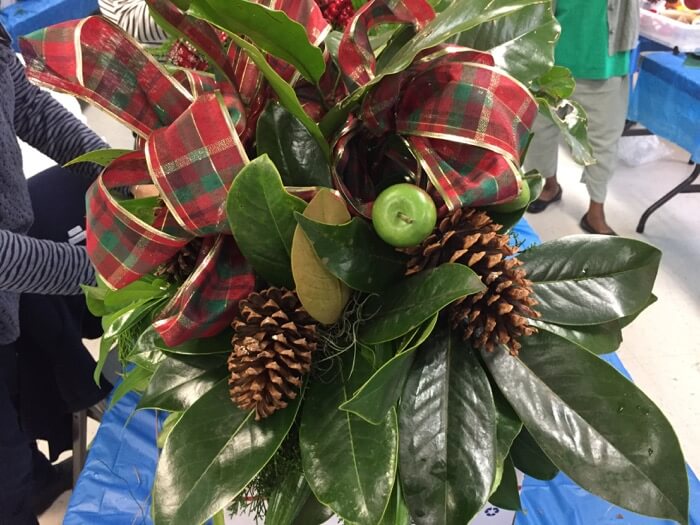
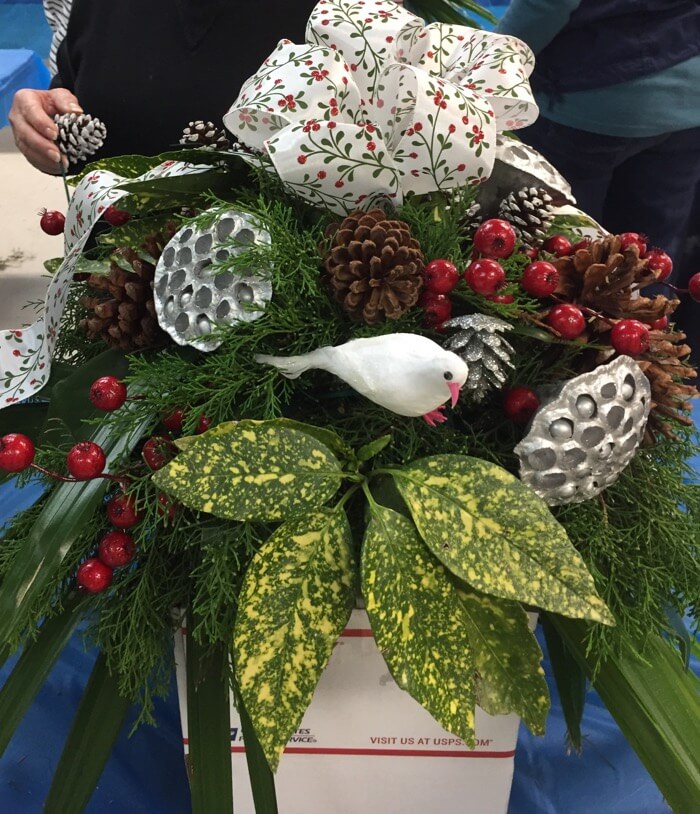
This year I joined the class and will have my decorated mailbox added to the plethora! I am sharing Carol Ann’s and Sylvie’s tips for making beautiful mailbox decorations. Go as natural as you like by using cuttings from your own yard…magnolia, spruce, pine, firs, palmeto, pittosporum, palms, holly with berries, pine cones.
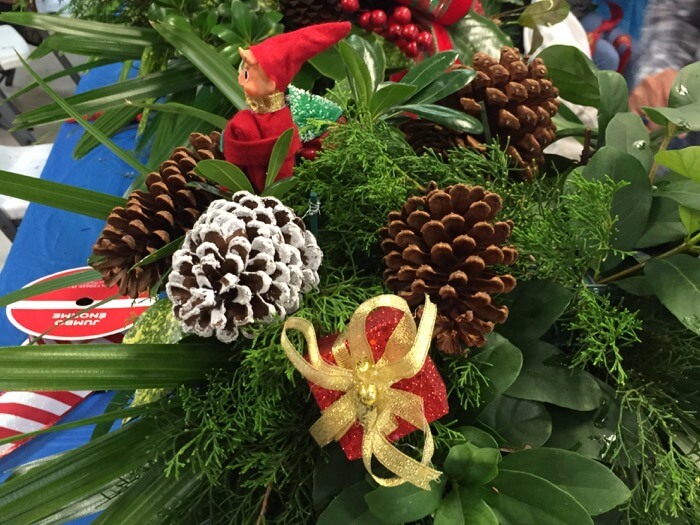
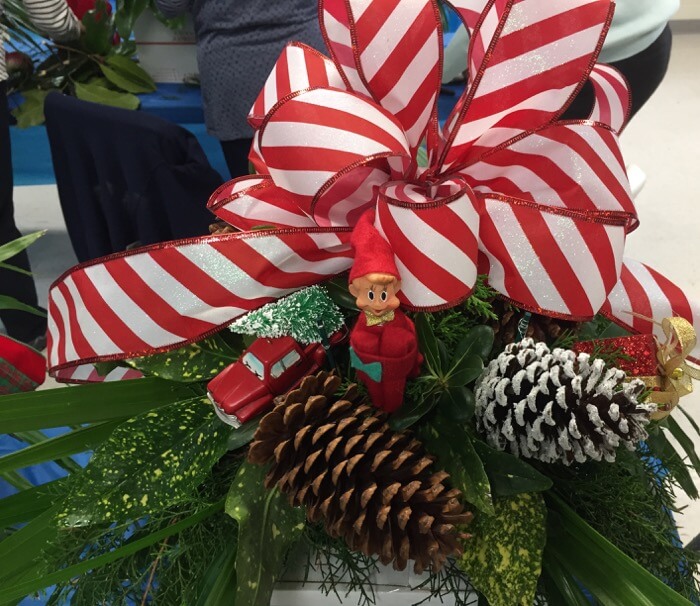
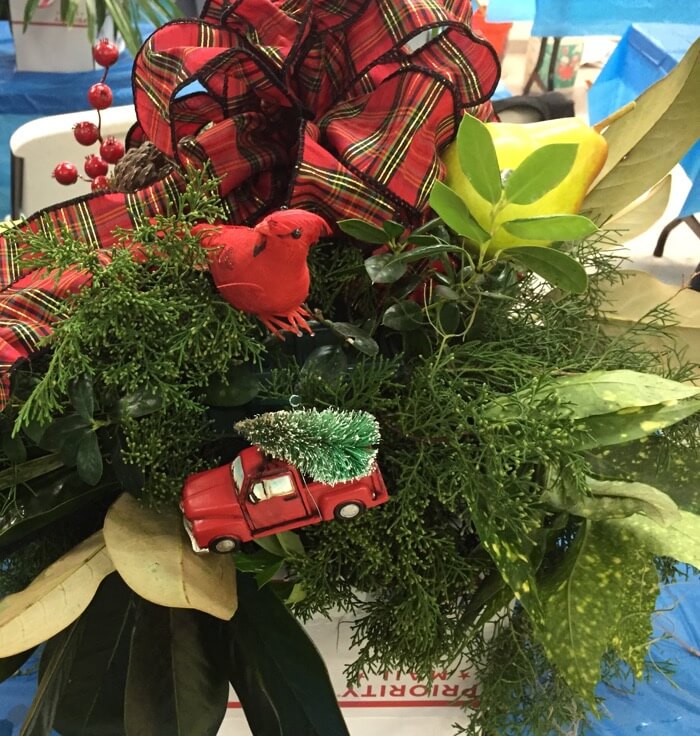
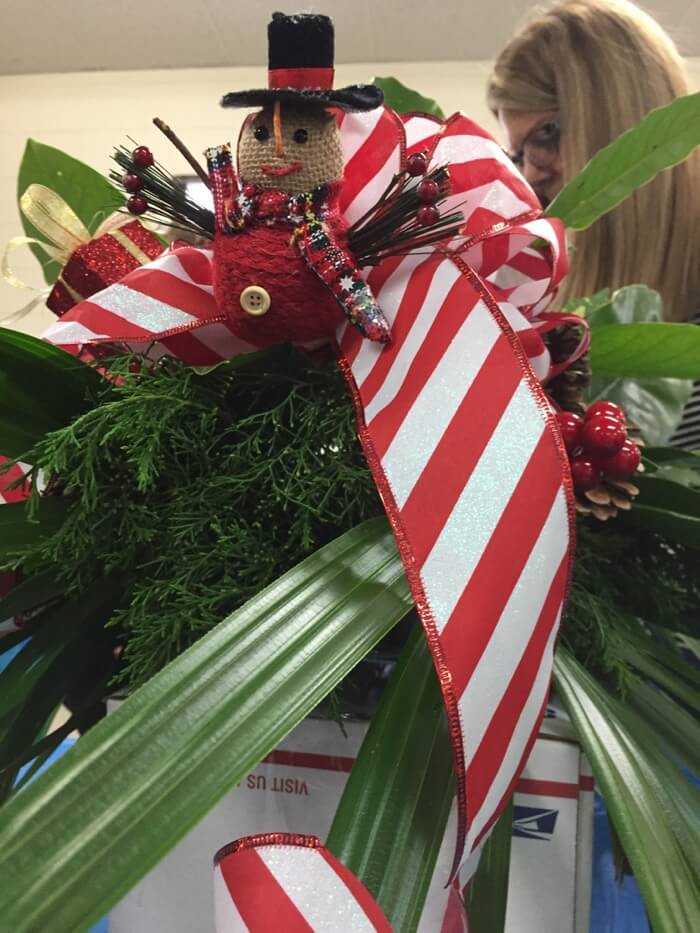
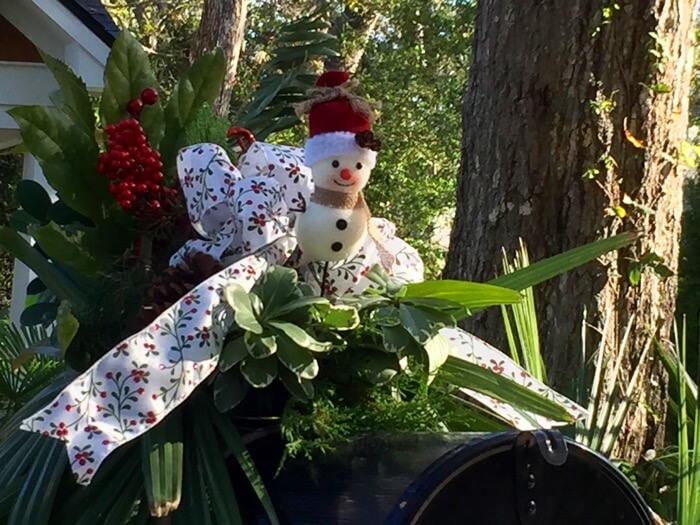
Or make it kid friendly with brightly colored bows, toys, fun ornaments.
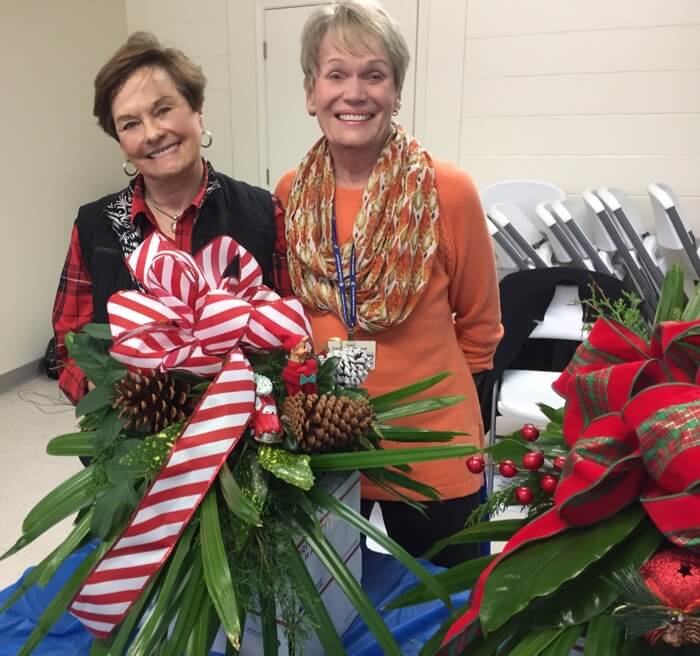
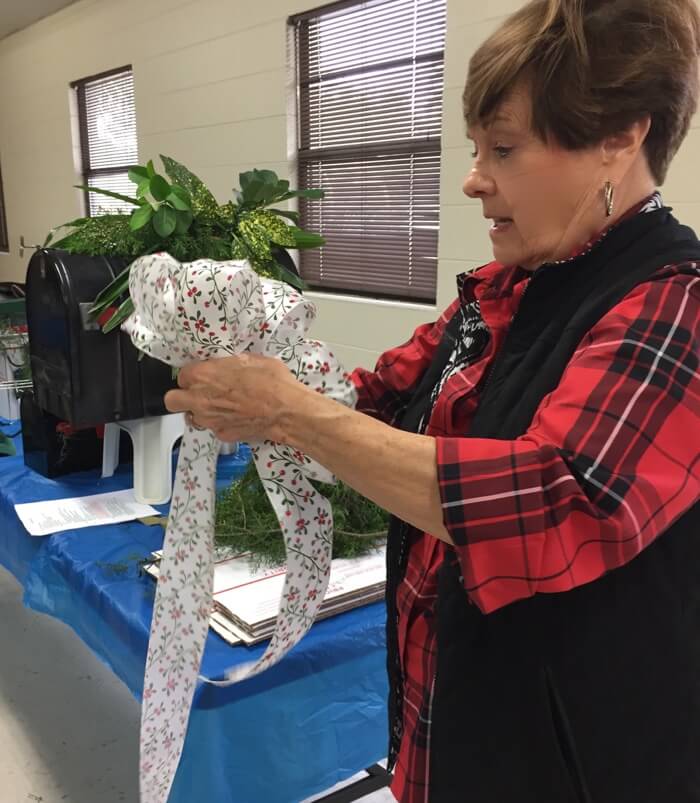
Sylvie Baxter and Carol Ann Atwood
SUPPLIES
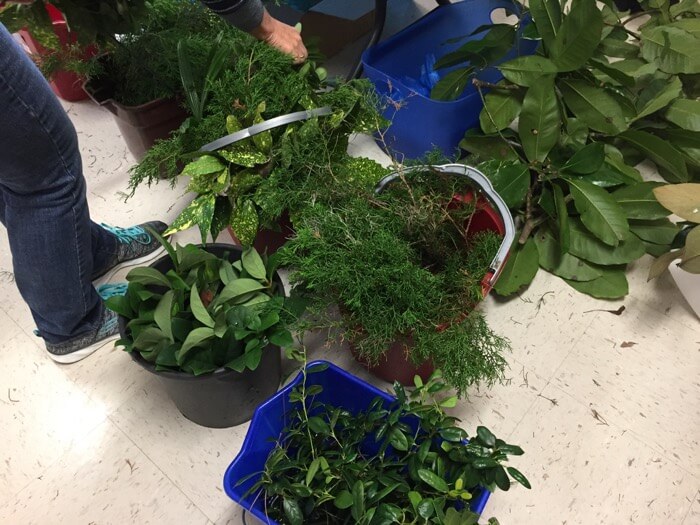
FOLIAGE SUGGESTIONS:
Magnolia Stems
Small Palmetto Leaves
Small Lady Palm Stems
Cedar Branches (Some have blue or white berries)
Holly Branches (with Red Berries)
Pine, Ivy, Mistletoe, Pittosporum
Anything Evergreen
OPTIONAL ADDITIONS:
Pinecones, Pods, Beads or Cranberry Strands,
Faux Berries, Poinsettia Blossoms, Faux Fruit (Della Robbia or Williamsburg Style)
Jingle Bells & Bulb Ornaments-(Hang with thin ribbon)
Candy Canes (Faux), Toys (such as Christmas trains, birds, animals)
Mini Battery Powered Lights
Ornaments, similar to your tree ornaments

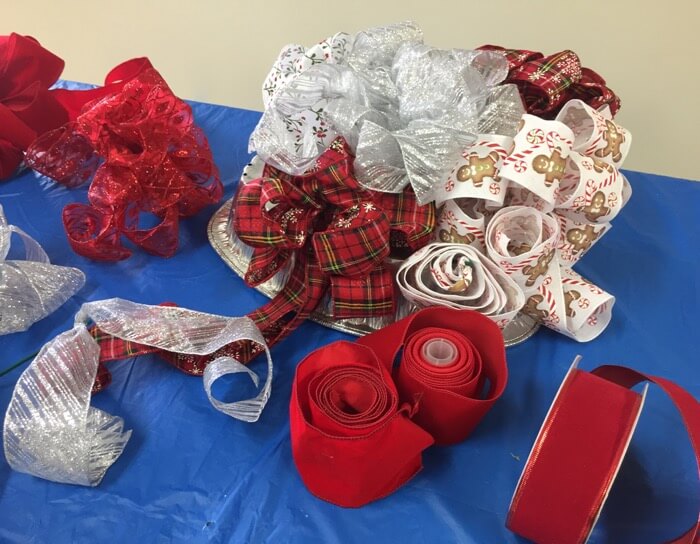
BOW RIBBON:
Outdoor wired on edges is best.
Some indoor Ribbon will be fine outside- Snip a bit and wet it to see.
The bigger the mailbox, the wider the ribbon for the bow- 3 yards usually will make a good bow.
Pipe Cleaners or covered florist wire to tie bow.
TOOLS:
Hand pruner, wire cutter, scissors
Towel- cut old piece of towel to protect mailbox (Black or Green will not show)
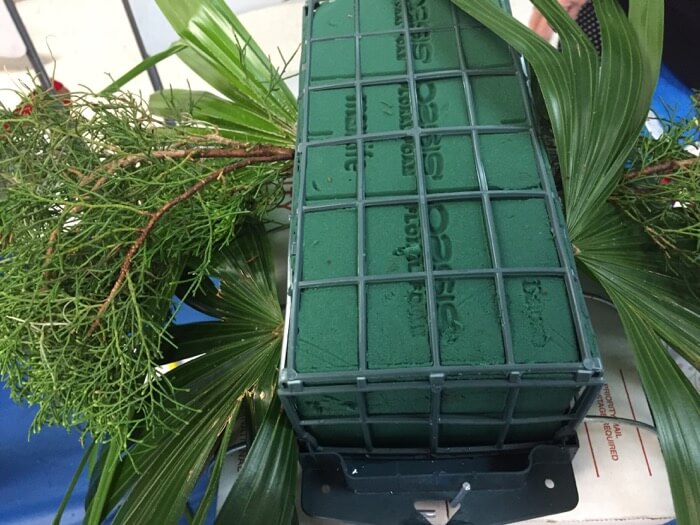
WET type of Oasis
Oasis cage (Pinch sides and lift to change to new oasis) or Foil Pan (Need wire or waterproof florist tape to tie oasis to pan)
Optional Monument Holder (Saddle), Bend to hug mailbox
Wire to attach tray with oasis to mailbox
Glue Gun or Oasis floral adhesive
Floral Picks or skewers to tie/glue to pinecones and ornaments
DIRECTIONS FOR MAKING MAILBOX DECORATION:
Soak oasis in water. Allow time. Do not force submerge.
Place towel over mailbox for protection from scratching to secure tray to mailbox.
Carol Ann and Sylvie use a monument saddle (holder) as the base because it is flexible and can hug the mailbox. Click here to see suppliers. Place a oasis tribute cage holder, to the monument saddle.
Attach oasis container securely to mailbox with wire.
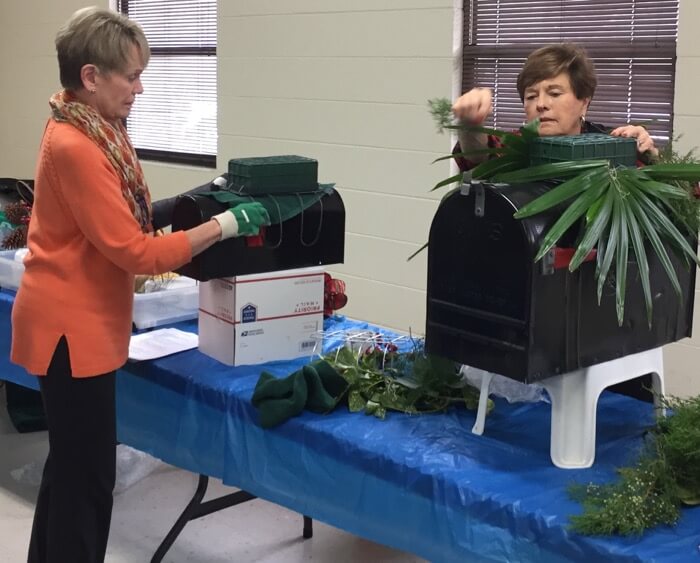
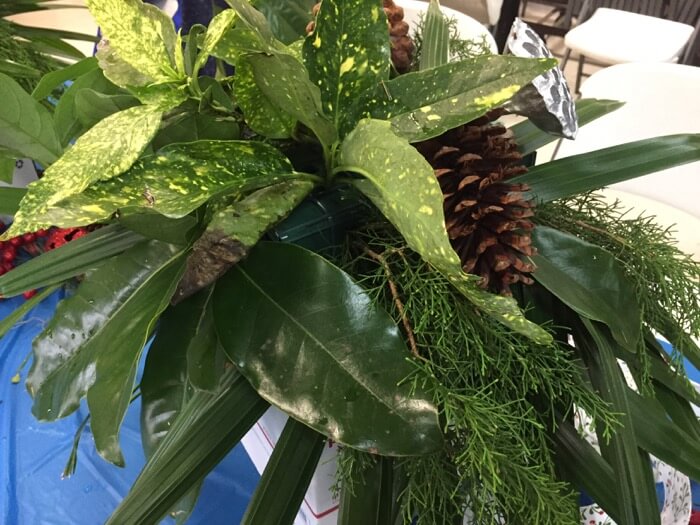
Add first layer of greens so that greens fall nicely against the side of mailbox…to cover holder.
Cut greenery and use the curve of the greenery to fall naturally, filling all around the oasis.

Gradually add sprigs of greenery to fill holes.
Add embellishments in odd numbers just as you do in floral arrangements.
Add bows and streamers of ribbon.
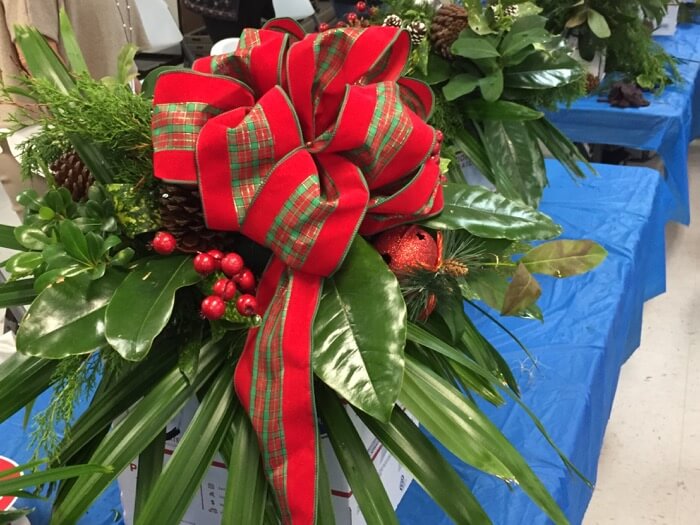
DIRECTIONS FOR MAKING BOWS:
Pinch ribbon. Make loop on top of pinch. Repeat making 10 loops, all the same size. Wrap wire around pinched area as tightly as you can. Tie about 12-24 inches of ribbon around center of bow to cover wire and make tails. Hold center and pull each loop up and fluff. Optional: Take small length of ribbon, loop and tie to stick to make extra ribbon loops.
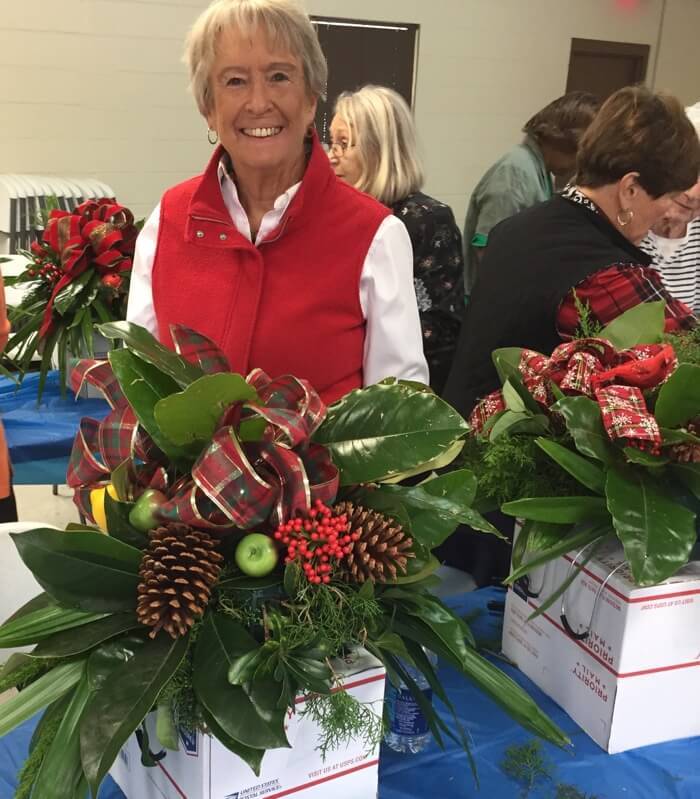
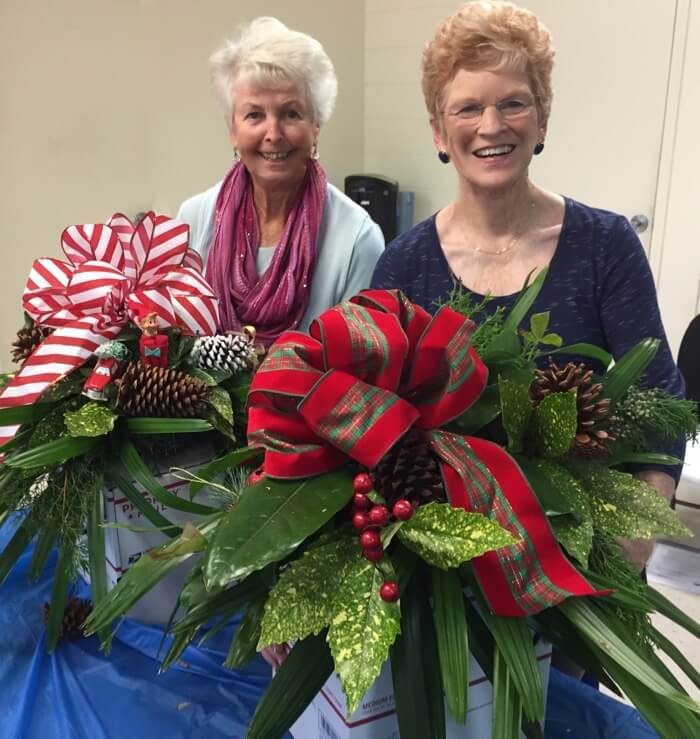
Wow…now check out these gorgeous mailbox creations….

You can also make other holiday mailboxes. Thanksgiving with gourds, mini pumpkins, fall ribbon; Easter with ivy and real flowers such as lilies (stuck in florist water tubes.) Great for bridal shower and wedding parties.
Be sure to water your mailbox arrangement if you do not have rain.
With water, the arrangements should last for over a month. If something wilts, just pull it out and add new.
Thank you to Carol Ann Atwood and Sylvie Baxter for sharing their tips for making holiday mailbox decorations!
Now it is your turn.
If you make one, let us see! Tag your photo with #kathymillertime on Instagram!
Come celebrate with me. I’ll save you a seat at the table,
10 Comments
oh fun, Kathy… thanks for the plug ??????
Now I have to make my decoration! You and Sylvia made it look so easy.
I am so happy to see this post showing how talented Carol Ann and Sylvie are and how wonderful they have been over the years teaching and also doing mailboxes for those that might not be able to get
out to do their own. Two jewels in our community.
Thank you Janet for your comment! I could not have said it better! Carol Ann and Sylvie are definitely jewels in our community!
As usual, Kathy, great job of telling the story. What fun it was to create a holiday mailbox. A big orange ribbon topped my mailbox decoration until Thanksgiving was over then a transition to xmas red and green.
Always good to see you!
Thank you Dickie! It is always great to see you. I love that you had a Thanksgiving bow and now will transition to Christmas. I do the same thing. Hope you had a wonderful Thanksgiving with all your family in town. Thanks for subscribing too!
I have watched the creation of these fun natural mailbox decorations. So clever.
Yes they are all so diverse! And I think a few of them are close to your house! Thank you for enjoying!
Dear Kathy,
I did not see this article until today — I must have been out of town when it was published. Thank you so much for doing such a great job of describing the process and showing all the photos of the creations everyone made.
I always love your articles and look forward to every new one.
Hope you have a wonderful Christmas and a Great 2021.
Sylvie
Thank you Sylvie! I really enjoyed the class and learning how to really step up my mailbox decorating. I will be putting mine out soon. You and Carol Ann are so talented!